Production Day
Production Day
Production Day video:
The video contains clips and videos from before I did major editing, and therefore most of the clips are different from the clips below (which are the finished edits).
My planned outcomes and the actual results:
1. Fisheye angle

For the fisheye angle, we tried to match the lighting as closely as possible to the original inspiration. This was successful as the lighting did match it well-enough, but as there were white walls, it was quite hard to match the full thing, and so I did general experimenting with the fisheye angle.
The fisheye angle came out very well, and I was really happy with the outcome, as it had not only matched the exact lighting in the original inspiration, but worked well with other parts of the lyrics of my song, specifically the part in which the idea of entrapment comes in.
However, the lighting was not too easy to achieve, as some of the colour gels were either too dim or too overpowering, and so we added contrasting gels together and tried to see what would match the best: the red and dim-yellow gel, seemed to come out well, as the yellow was the first gel, whilst the red was over layering it, and therefore, the red gel wasn’t too overpowering.
My Results:
 |
| My results after editing |
As I wanted to try and recreate the original inspiration as closely as possible, I decided to try and use the finished edited version in After Effects. On AE, I duplicated the shot 3 times, and adjusted its positions so that each of the three individual shots were shown on the screen at the same time. Before adjusting each of the positions, I used motion tile, to ensure each of shots are shown in tiles, so that it would look like a full strip of each of the shots. Afterwards, I decided to overlay the 3 shots, and so overlayed using the ‘screen’ blending option, so that it would show each of the shots but without any coverings. After, I amended its positions so that each of them would sort of overlap each other more.
 |
| Editing process |
My final result:
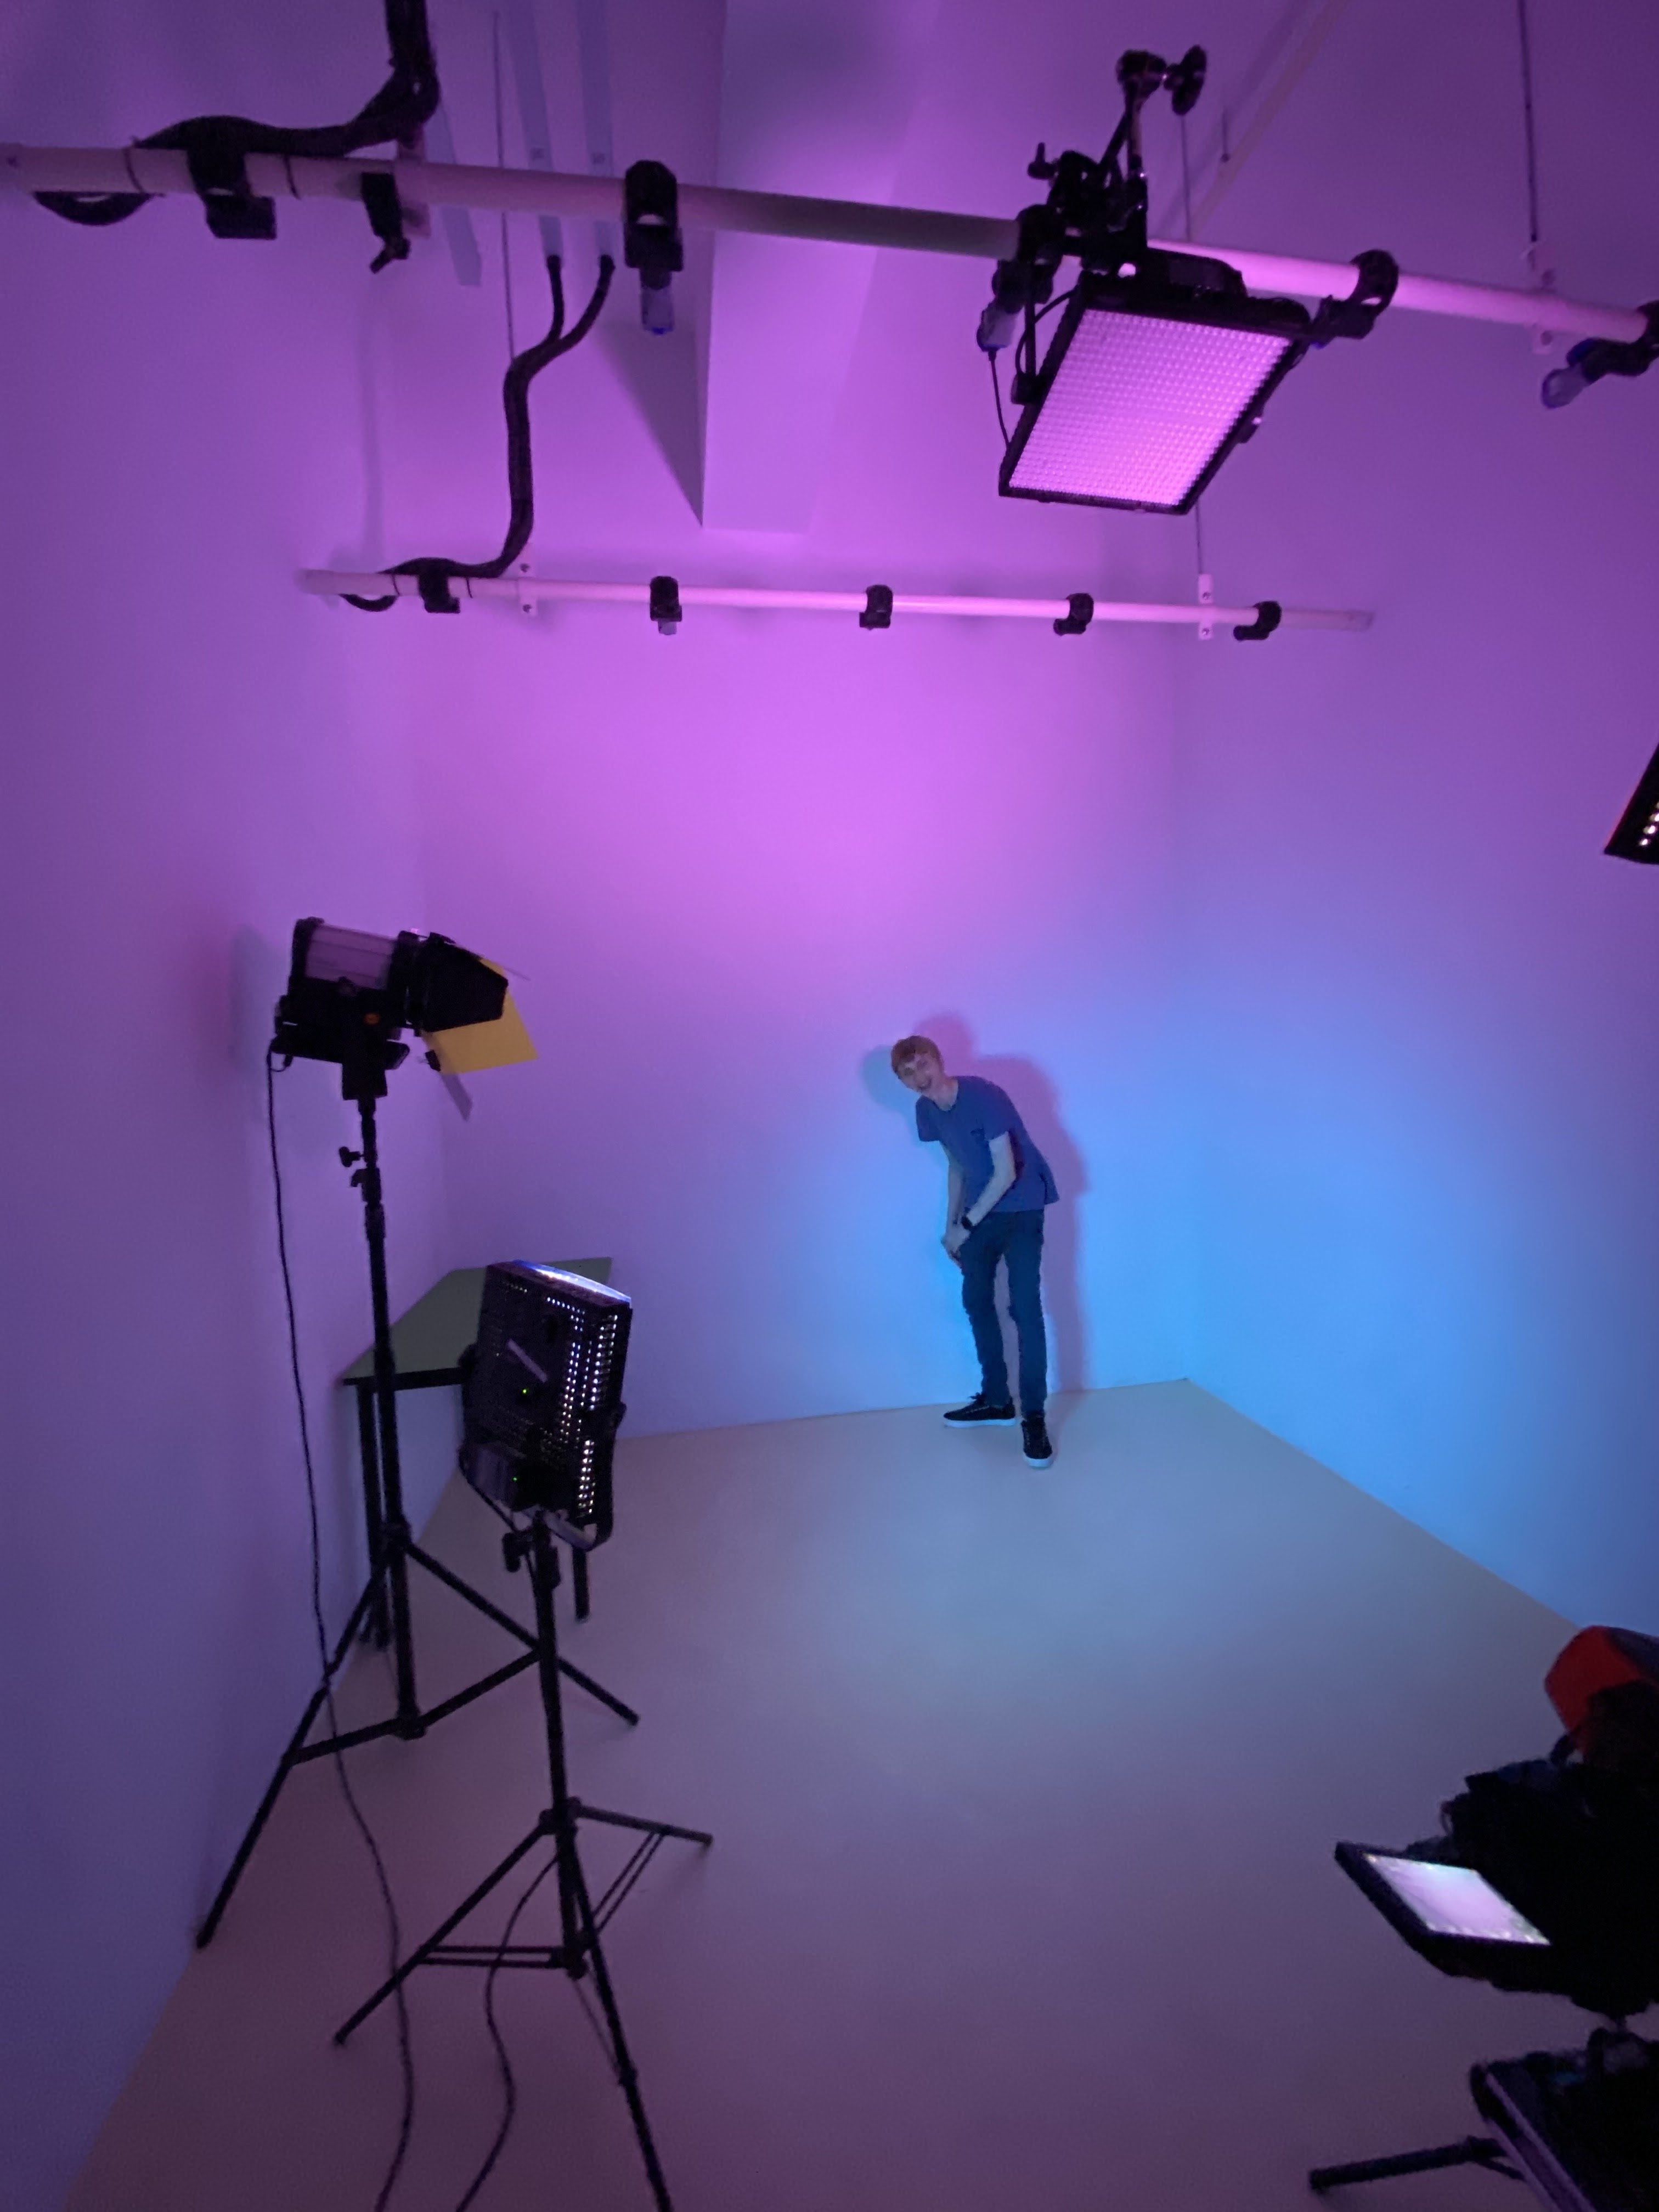
Behind The Scenes:


2. Snorricam
For the experimentation with the snorricam, there were initial issues with having it work. Firstly, one of the snorricam’s wasn’t quite working - there were only 2 available, and as we tried fixing it, the second one seemed to be working, but 2 of the bottoms screws fell off, and subsequently had to be repaired again.
After it was repaired and working, we attached it and used it in a big open space. The lighting wasn’t exactly matching the one of the original inspiration, as it was much brighter, and thus, we did some general experimenting with the snorricam (as I had never used it before).
It was working well initially, but the snorricam had to be constantly held in angle, so that the camera would show the person’s face, or else it would be below their face and just show the upper-half of their body. This was difficult, as the snorricam equipment itself was heavy, and the additional camera weight made it more of a challenge than experimentation.
My Results:
The results came out well, despite the snorricam not being placed in the same angle of the original inspiration. The snorricam was also difficult to film with, as there were prior issues with making it work, and then having to hold it upright, so that it would film the subject's face. It seemed tricky, and as it was hard having to constantly hold the snorricam upright, the footage was not as best as it could have been. However, I quite like the use of the snorricam, and thus, I will hopefully use it in my music video.
3. Extreme close-up/contrast in lighting
For the extreme close-up shot, we tried to firstly match the lighting, as it was going to be difficult to get the natural lighting from the lighting gels. We did initially go outside and try to film there with the natural lighting, but it was too overpowering and not showing up well on the camera, and thus, we decided to try and change the gels and add darker colours in order to see how well they contrast, as well as whether it’ll show up well.
We tried using much less, more dimmer colour gels, but these did not work out well, as they did not change the lighting, but kept it more or less the same as the bright, white light, and so, we experimented with adding different contrasting colour gels, such as dim-yellow and dark red, and unsurprisingly, the red colour seemed to overpower the other, and so we changed the way they were angled to see the contrast in lighting.
However, the natural lighting was hard to get, with mixing the colours, and so, we decided to use a dim-green and dim its brightness and see how that would work. It did work initially, but was not very close to the original inspiration, and so the close-up did not come out so good, and this proved that this shot was something I’d need to think about, whether to remove it or keep it in my music video.
 |
| Selena Gomez's 'Fetish' |
My Results:
Editing the eyes was difficult, as the lighting was not the exact same as the original inspiration, and so I had to use to do a lot of colour grading in order to try and firstly, match the lighting, and then add grain, so it would match the original. This proved successful, as the results came out well, and the grain and lighting matched to an extent, and so I was quite happy with the outcome. I definitely think an exxtreme close-up shot at this angle will be useful in my music video.
4. General experimenting with own gimbal
For general experimenting with the gimbal, it took a while for me to properly set up, and actually balance it. I had watched a YouTube tutorial prior to the day, and did test it and it had initially worked, albeit for a short amount of time. However, on the day of shooting, the gimbal took more time than ever to balance, which resulted, with the motors not running properly and issues with movements, so I had to improvise and shoot manually; by moving the parts of the gimbal so that the camera would move.
As I went offsite to shoot with the gimbal, I filmed at an open park overlooking the sea, but the location wasn’t too great, as it was not a ‘typical’ forest-like setting, and therefore, it was not looking to great.
The experimenting did not go so well either, as the camera seemed to have not been tightened enough, despite screwing it on with a lot of effort, and therefore, I had to support both the camera itself, as well the gimbal. This was quite difficult, and as a result, my shots were not the best.
Although the many issues I experienced with trying to use the gimbal, I need to practice with it more and do more own experimentation, as the gimbal is something I’ve really wanted to use for a long-time, and I think with more experimenting, I should be able to have successful shots.
Behind The Scenes


My Results
The results did not come out well, at all, but it showed me how much more practice I need with balancing the gimbal, as some parts did not balance but then wouldn't be steady. Similarly, majority of the shots were overexposed and needed heavy editing, which I did on After Effects. The colour grading is different for each clip, as I was testing how the colours would look like.
5. Silhouettes — high-key and low-key lighting + overall lighting
For lighting wise, the experimentation went well, as we changed the lighting and altered the colour of shadows. Each of the shots were done well, but took some time to set up and perfect the lighting, especially for recreating Lana Del Ray’s ‘Summertime Sadness’ music video shot, as it featured a silhouette with a bright dim-yellow light at the back of the silhouette.

My results
For editing, I used After Effect's Lumetri colour and started editing on each element. The editing was not too difficult as the shot was already similar to the original inspiration, and therefore, all that was really needed was for me to edit the colours so that the yellow colour would not come through too strongly. For this reason, I decided to try 2 different colour gradings, to see how both would contrast.
The shot itself was well done, to an extent, as we matched the circle and shadows, but the amount of focus on the shadow itself was not similar to the original inspiration, as the original was focused on the centre of the shadow, whilst mine was a bit out of focus, and therefore, could not tell whether the actor was lip-syncing or not (when in reality, they were...)
In order to improve, I think the camera needs to be centered a bit more closely to the subject, so that I'm able to get as much of the details of the shadow as possible. This shot was a bit difficult to execute, but it's one that came out well-enough, and so I think I'll like to incorporate this into my music video.
After re-watching the original clip, I realised there's more grain and glitches in the original, and so I edited the first clip again, and added grain and a VHS overlay.
Behind The Scenes:


Further experimentation
Other lighting shots were done more easily, as matching the lighting was quicker as the lighting was dimmed or changed in its angle. The first shot was from The Weeknd’s ‘Starboy’ music video as the artist is portrayed as a silhouette, against the dim-blue background. Recreating this shot was not hard to do, as we moved the lighting to behind the actor and did get the silhouette, but just barely.

My Results
The results came out very well, as the background colour almost perfectly matched the original. However, as in the original, the lighting is very evidently in the background, we had to try and match the lighting but also create a sort of silhouette for it, which was difficult, as I had to try and reduce the amount of lighting on the subject, so that the blue background would come through as much as possible.
I am happy the shot came out like this instead of the original, as the lighting is much more vibrant and clear here, and if I experiment with more colours which give a dark ambience, then it's most definitely a technique I'd like to incorporate into my music video.
Inspiration
Drake’s ‘Hotline Bling’ music video was also quite difficult to recreate at first, given the lighting changes in the background, but we managed to contrast the 2 colours of the blue and the dimly-lit pink. The only major difference in the original inspiration was that the blue colour was overpowering, to the point where it created a blue silhouette against a dimly-lit pink background. Although this wasn’t my initial planned outcome, I think it was successful as it transformed the typical black silhouette into a better colour, as well as contrasting with the other colours.

The shots came out very well, as the lighting was perfectly matched, with the pink on the top and the blue on the bottom, which created a blue shadow/silhouette. I quite liked the whole 'vibe' and feel of the shot, particularly due to the colours used and how effective they worked and contrasted against one another. Hence, it's a technique that I would like to use in my music video, but perhaps with more darker colours to really fit in with the whole dark ambience.
I also tried other experimentation with motion tile and shift channel presets on After Effects.
Behind The Scenes:


More Shadow/Silhouette experimentation
I decided to try more shadow experimentation, and after recording my green screen parts, I used the black room and tried to see silhouette experimentation, and ultimately how well the light would reflect the subject. I was trying to see how in-depth and how focused I could get the camera and the shadow, and this was a bit difficult: if the subject moved closer, the shadow would be more refined and more in detail, but the subject would be in line with the camera, and vice versa. Trying to find an equilibrium between the 2 proved tricky.
My Results:
The results came out well, as the shadow was good, and the amount of light coming through was good enough, so that the subject's silhouette would have some detail. Editing was not a challenge either, as I used After Effect's Lumetri colour and changed the shadows, exposure, etc. manually and then added its 'photo filter' preset for the first clip, and then edited the clip. This experiment was successful, but I'm not too sure whether I'd want to include something like this in my music video, purely due to how hard it was to provide enough detail of the subject in their silhouette.
6. Animation with drawings
For animations with drawings, I intend on using Adobe Illustrator in order to animate drawings onto a person dancing, similar to that of Bloodpop’s ‘Where Are U Now’, music video, which is my original inspiration. The artist, Justin Bieber dances, and the clip is edited to create slow-paced parts, before resuming to the normal speed.
For my experimentation, I tried to learn how to use Adobe Illustrator, and learn how to animate anything on it, so I used some tutorials to try and get a basic understanding.
7. Full animations
For full animations, I tried to recreate something similar to that of LSD (Labrinth, Sia, Diplo)’s ‘Genius’ music video, which featured the use of animation in a cartoon-like strip format. However, when I was watching the music video to try and understand how I could recreate some of the parts, it looked difficult and challenging, as there was a lot of detail within each element of the music video, and moreover, seemed very technical.
8. Green screen
For the green screen, we were not able to use the green screen room, so we used the other ‘flexible’ green screen and moved it into the pitch black room.
However, as the green screen was not very large in size, it was difficult to edit the full animation from my original inspiration, as my original inspiration was quite large-scale, and so I had to try and edit with the limited amount of ‘green’.
For my green screen, I decided to try and edit my actor into a scene from a music video, such as that of BTS's 'Boy With Luv'.

Behind the scenes:


9. VHS cam (through editing)
For the VHS cam editing, I used a tutorial, in order to understand and learn what presets to use. The video used the general text fonts for the VHS effect, but I decided to only use the VHS effect and exclude its fonts, as I wanted to try and match the original inspiration as closely as possible.

.png) |
| VHS Cam |
Tutorial for VHS
The editing did not take too long, and came out all right, but I was changing the amount of noise/grain on the screen to really just enhance the effect.
Whilst testing out the VHS effect, I also experimented with shadows and colours, through layering 2 contrasting clips and using the 'shift channels' preset to change the colour of the clips, so that it come out as a shadow of the other clip.
My Results
Although the VHS cam editing came out well, I think that the time for the VHS clip should've been longer, and the effect wasn't done as well as hoped, as the clip cut from the original and faded into the 'VHS cam'. After reviewing the clip several times over, I decided to try and see how the whole effect would look like with the VHS font, and as I already had the overlay, I decided to use it and edit it a little.
My Results
The effects I used

10. Split screen
For split screen, I tried to recreate something similar to that of one of the short films I found on YouTube, which followed a daily routine of 2 unbeknownst lovers.
My Results:
The results came out okay, given my timing and availability on the day itself, I wasn't able to actually film any split screen moments, as represented in my original inspiration, and so I thought of having 2 clips which are similar, and try and see what I can make out of them. For the outcome, I used an overlay of a purple solid and then used other presets I had to change everything.
The background clip features shadows I created using the shift channels, and I then edited the colours using Lumetri colours. I then edited the original blue clip itself but only barely.
Given my timing, I think if I were to properly incorporate this technique into my music video, I'll have to do a lot of planning beforehand, in order for the clips to make sense, and thus, it may prove difficult.
Changes I made:
Originally, I was going to try transitions with props, but this is something that was easy to do, and so I decided to keep it as something I'm potentially going to use in my music video, despite not having executed it.
General Behind The Scenes:


Comments
Post a Comment